Styling a house that already looks good: Style it up!
Today’s guest post comes from Anna Hart – a fabulous homestager and good friend. She has been working on a client’s home for me to prepare it for photography, and over three Saturdays she’ll be sharing her secrets with you!
This is Part 2 of my 3-part blog for Sam, taking you through my styling for photography process. Read Part 1 to find out how I prepared for the shoot – preparation is so important in this game!
Our fab photographer Andy Marshall arrived and we planned our route round the house. Taking the exterior shots while the sun was out was important, so we had to remain flexible with one eye on the sky! For each set-up, my priority is ensuring that the photographer sees the best angle and that everything in shot is carefully placed to enhance the appeal of that image. I rush around moving unattractive items out of shot and strategically controlling what is in the frame, trying to create balanced and attractive images that draw the eye the right way and show off the best features of the room.
There are two types of photography that I try to style for – the standard, ‘show the essence of the whole room in one photo’ shot that is essential for Rightmove, and the closer, ‘make the viewer want to live this life in this house’ shot that is great for use in brochures. Getting both in one shoot is hard work and needs a great versatile photographer, but it’s well worth it because you not only get fabulous photos of your rooms, but the lovely extra lifestyle images that could make a potential buyer fall in love with your house.
The two rooms that needed the most attention:
The kitchen needed a warm accent colour adding in to give some life to the very neutral colour scheme, so I added red with flowers, accessories, a picture and two lifestyle set-ups, one of which became my favourite shot of them all!
The 3rd bedroom also needed quite a makeover – it’s used as a full-time office so it wasn’t feasible to turn it back into a bedroom like I normally would, so I shifted out one of the 2 desks, all of the box files, and removed the framed certificates from the walls. The photos now show a suggested use for the room, instead of a room that had OFFICE stamped indelibly on it so no-one can imagine it as anything else.
Find out what the results look like in next week’s Part 3 – The Reveal!
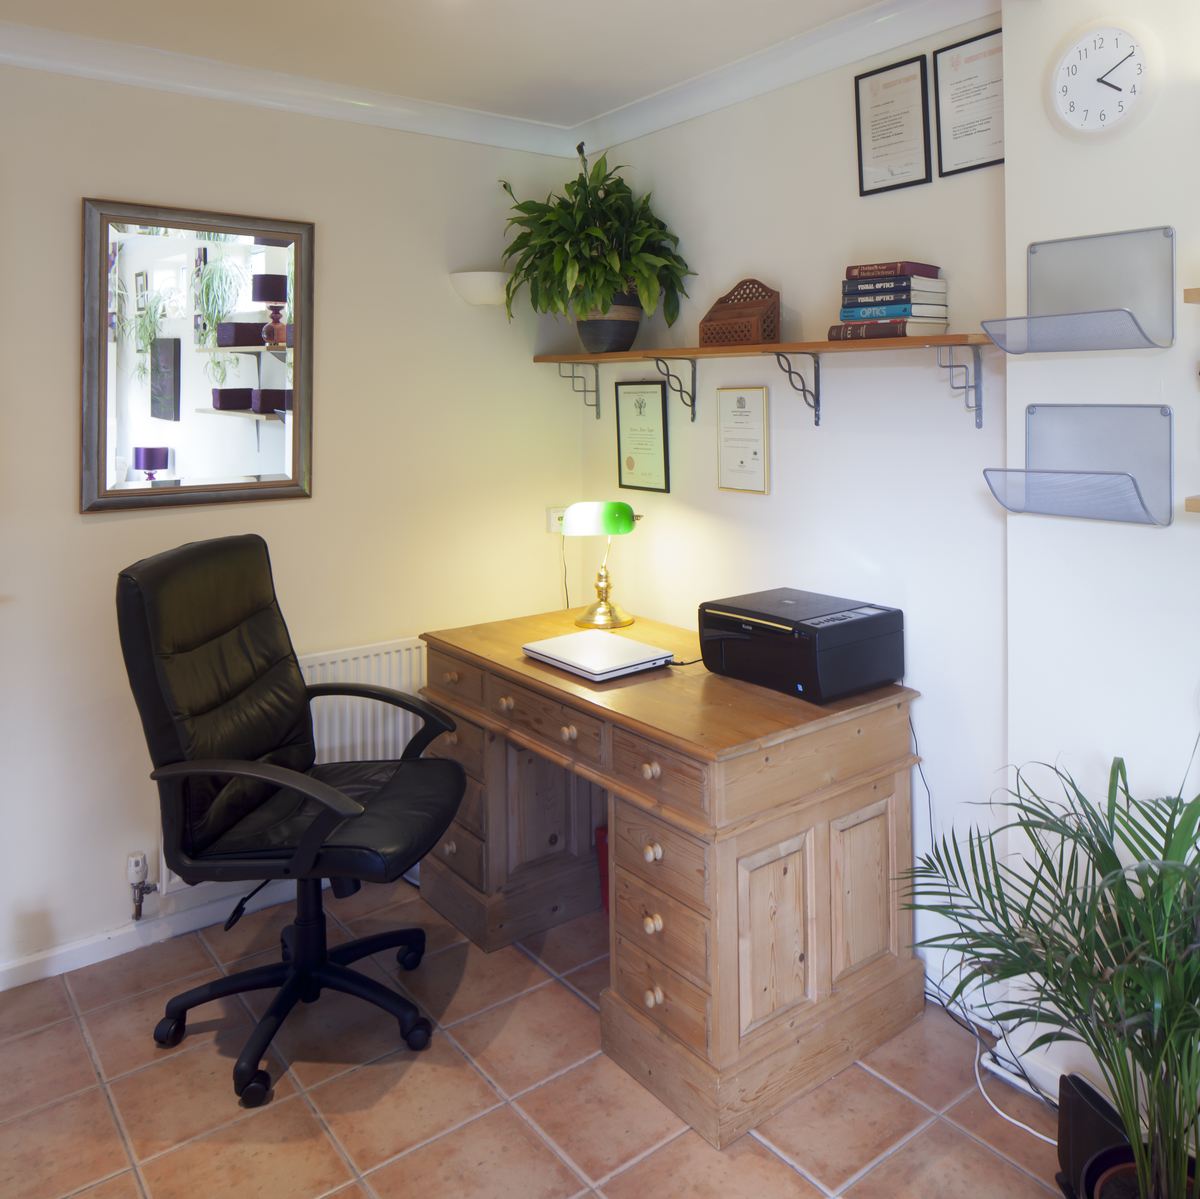
The office is looking beautiful!
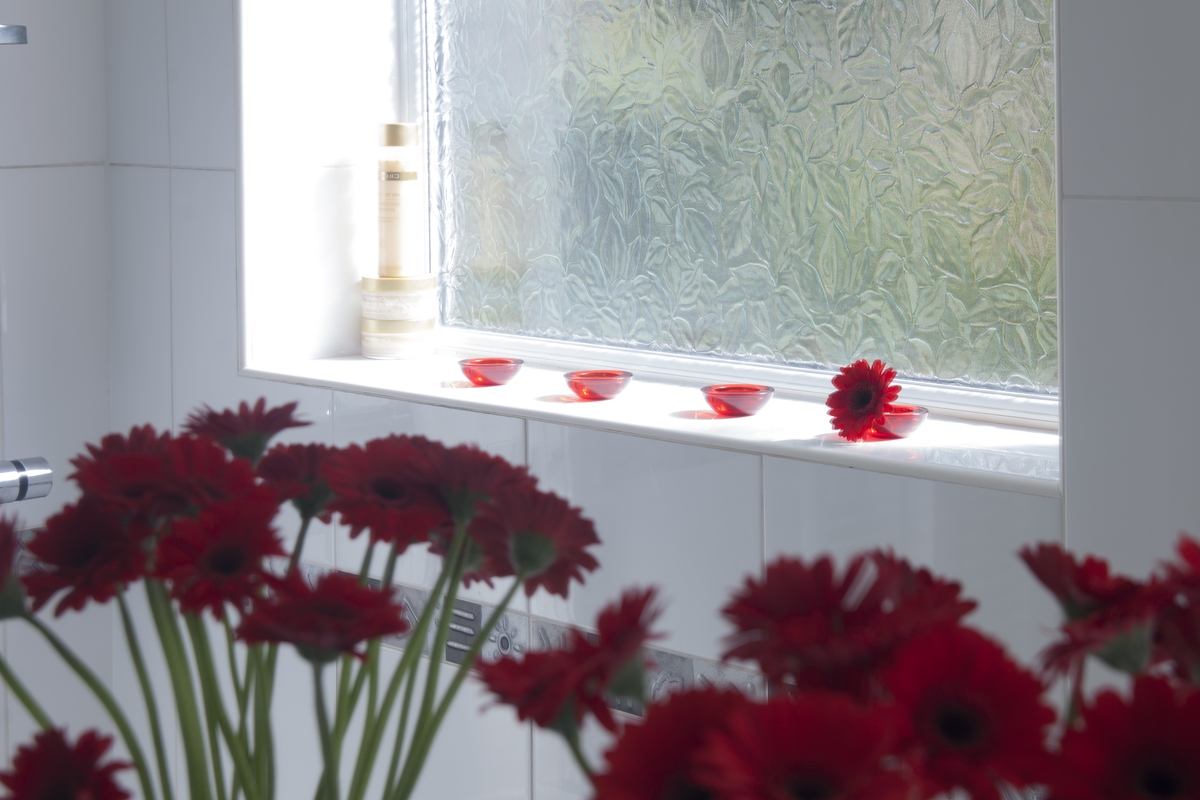
So pretty and they really add colour and interest to the bathroom.
Find out what happened during the shoot in Part 3 Style-it-up next Saturday!
If you’d like my help to sell your home more effectively, please answer a few short questions here and if I think I can help you, I’ll be in touch.